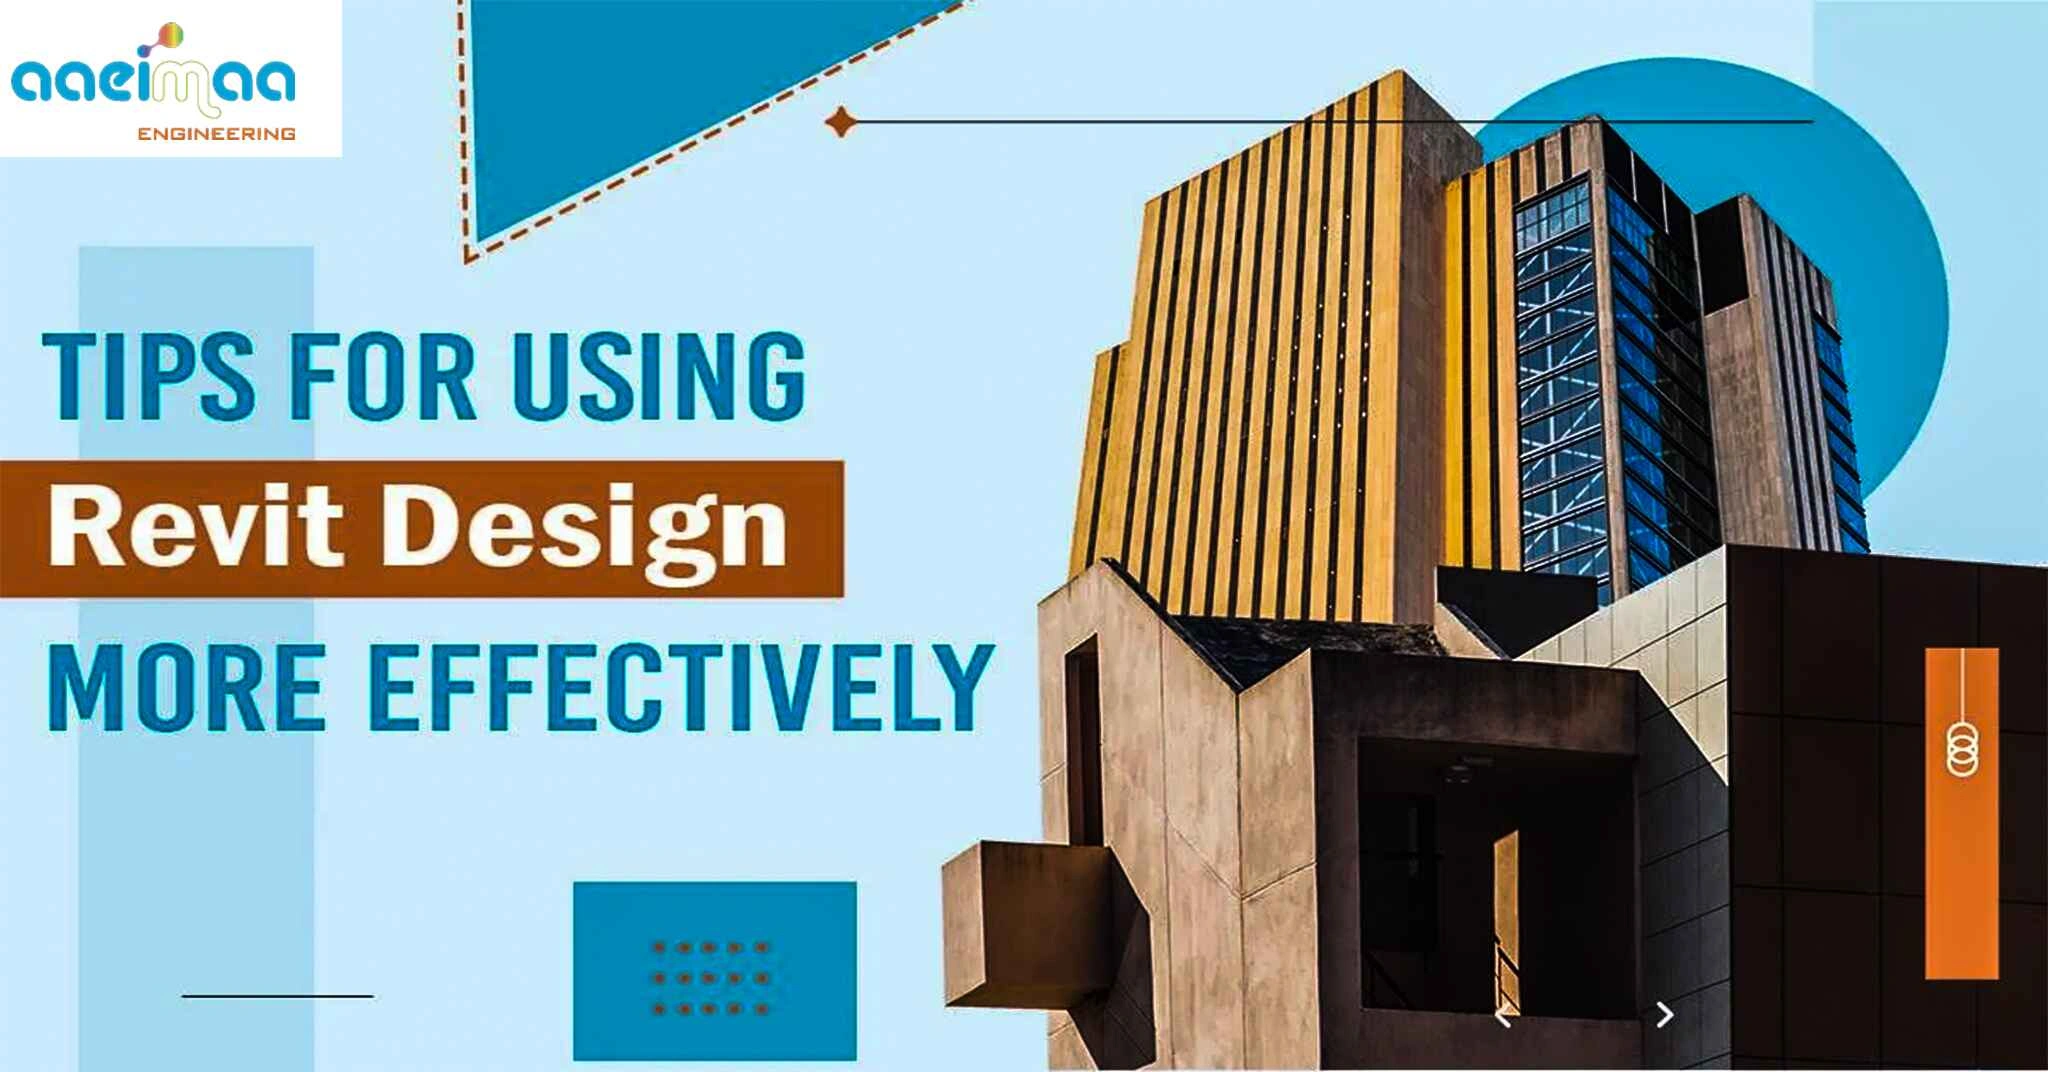
For your project, are you looking for Revit design advice? There is a proverb that states, “A tool is only as good as the hand that wields it.” The BIM sector’s foundation is this essential truth. How proficient are you with Revit design, one of the most potent tools available to BIM services professionals? It doesn’t matter if you are a novice or an experienced Revit engineer; there is always space for improvement in the way we use this wonderful technology.
The following pointers and techniques can help you model more accurately and efficiently in Revit design.
1. Use a 3D window to work
A 3D building model is Revit design’s primary area of expertise. Amazing to witness a 3D model develop. While using your plans and sections, you could waste a lot of time trying to understand what is being shown on the screen. To begin working, simply launch the 3D view. It will greatly improve the effectiveness of your work. You can also utilize the WT (Window Tile) hot buttons to organize open views instead of the standard equidimensional view.
2. Avoid returning to AutoCAD
Seriously. Do you desire to develop your Revit design skills? After that, Revit design may be used for all of your 2D tasks. In every area of your project development, Revit will earn 100 points higher. Simply become proficient with the repeating detail component and detail component tools. A significant base of 2D elements will eventually have been accumulated by you.
3. Recognize the Common Commands and Shortcuts
The following is the list:
Commentary Tab:
- Tag by Category: (TG)
- Text: (TX)
- Aligned Dimension: (DI)
- Detail Line: (DL)
- Room Tag: (RT)
- Spot Elevation: (EL)
Utilizing Models:
- WA: wall
- RM: Room
- DR: door
- LI: Model line
Switch to:
- Align: (AL)
- Create Similar: (CS)
- Move: (MV)
- Match Type Properties: (MA)
- Trim: (TR)
- Mirror: (MM)
- Rotate: (RO)
- Thin Lines: (TL)
- Offset: (OF)
- Window Tile: (WT)
- Move: (MV)
The majority of Revit’s important tools lack hot buttons or shortcuts. Press KS to create your own shortcuts.
4. Avoid Using Too Many 2D Element for Revit design
In a small project, it might make sense to finish your 3D model using 3D lines and masking regions. However, working on large projects will be challenging with bold 3D models. When modeling to display conventional indicators of elements in various views during the family building process, it is advised to utilize 2D models. It would be preferable if you took the time to make a thorough 3D model before working with the entire model. It will undoubtedly pay off over the long run.
5. Develop Templates From the Present View
Spend minimal time developing various perspective displays. You just need to configure your presentation view once for it to become a view template. The following is a list of the stages involved in creating a façade view template.
First, correctly set up the presentation view before creating a view template based on it.
You must then assign this view template to different facades in a View tab.
Additionally, you can have View templates set up automatically for each new façade.
6. Pin the Components
The element moves and deletions are common blunders for novice Revit users. Developing your idea is painful due to the center line’s constantly shifting levels. Using a shortcut (PN), pin your items. In order to move or delete your element, you must first unpin it.
7. Access Your Help Panel
BIM technology is widely used in Revit design. All libraries and system components have a large variety of parameters; they are loaded with different data and structured into a multitude of group parameters. If you have to continuously navigating the Properties box to find the required parameter, you will lose a lot of time. Operating under the same principle is the project browser. When working on a big project, it can be challenging to find the necessary view. Simply opening your assist panel in full-screen mode will bring all the information to your attention.
8. Aspects of Design
You can investigate many design possibilities inside your model using Design possibilities. For various model components, you can configure a number of settings inside the same project. When options are reviewed and analyzed with the aid of Design Options, it is simpler to make a final decision and implement it with a few mouse clicks. To increase productivity, users will find it helpful to become familiar with the creation of option sets, the addition of choices to sets, and Visibility Graphics.